How to Create Mockups for Presentations of Architectural Projects
“ Learn to make models to present your architectural projects in an effective and attractive way.”
How to create mockups for presentations of architectural projects
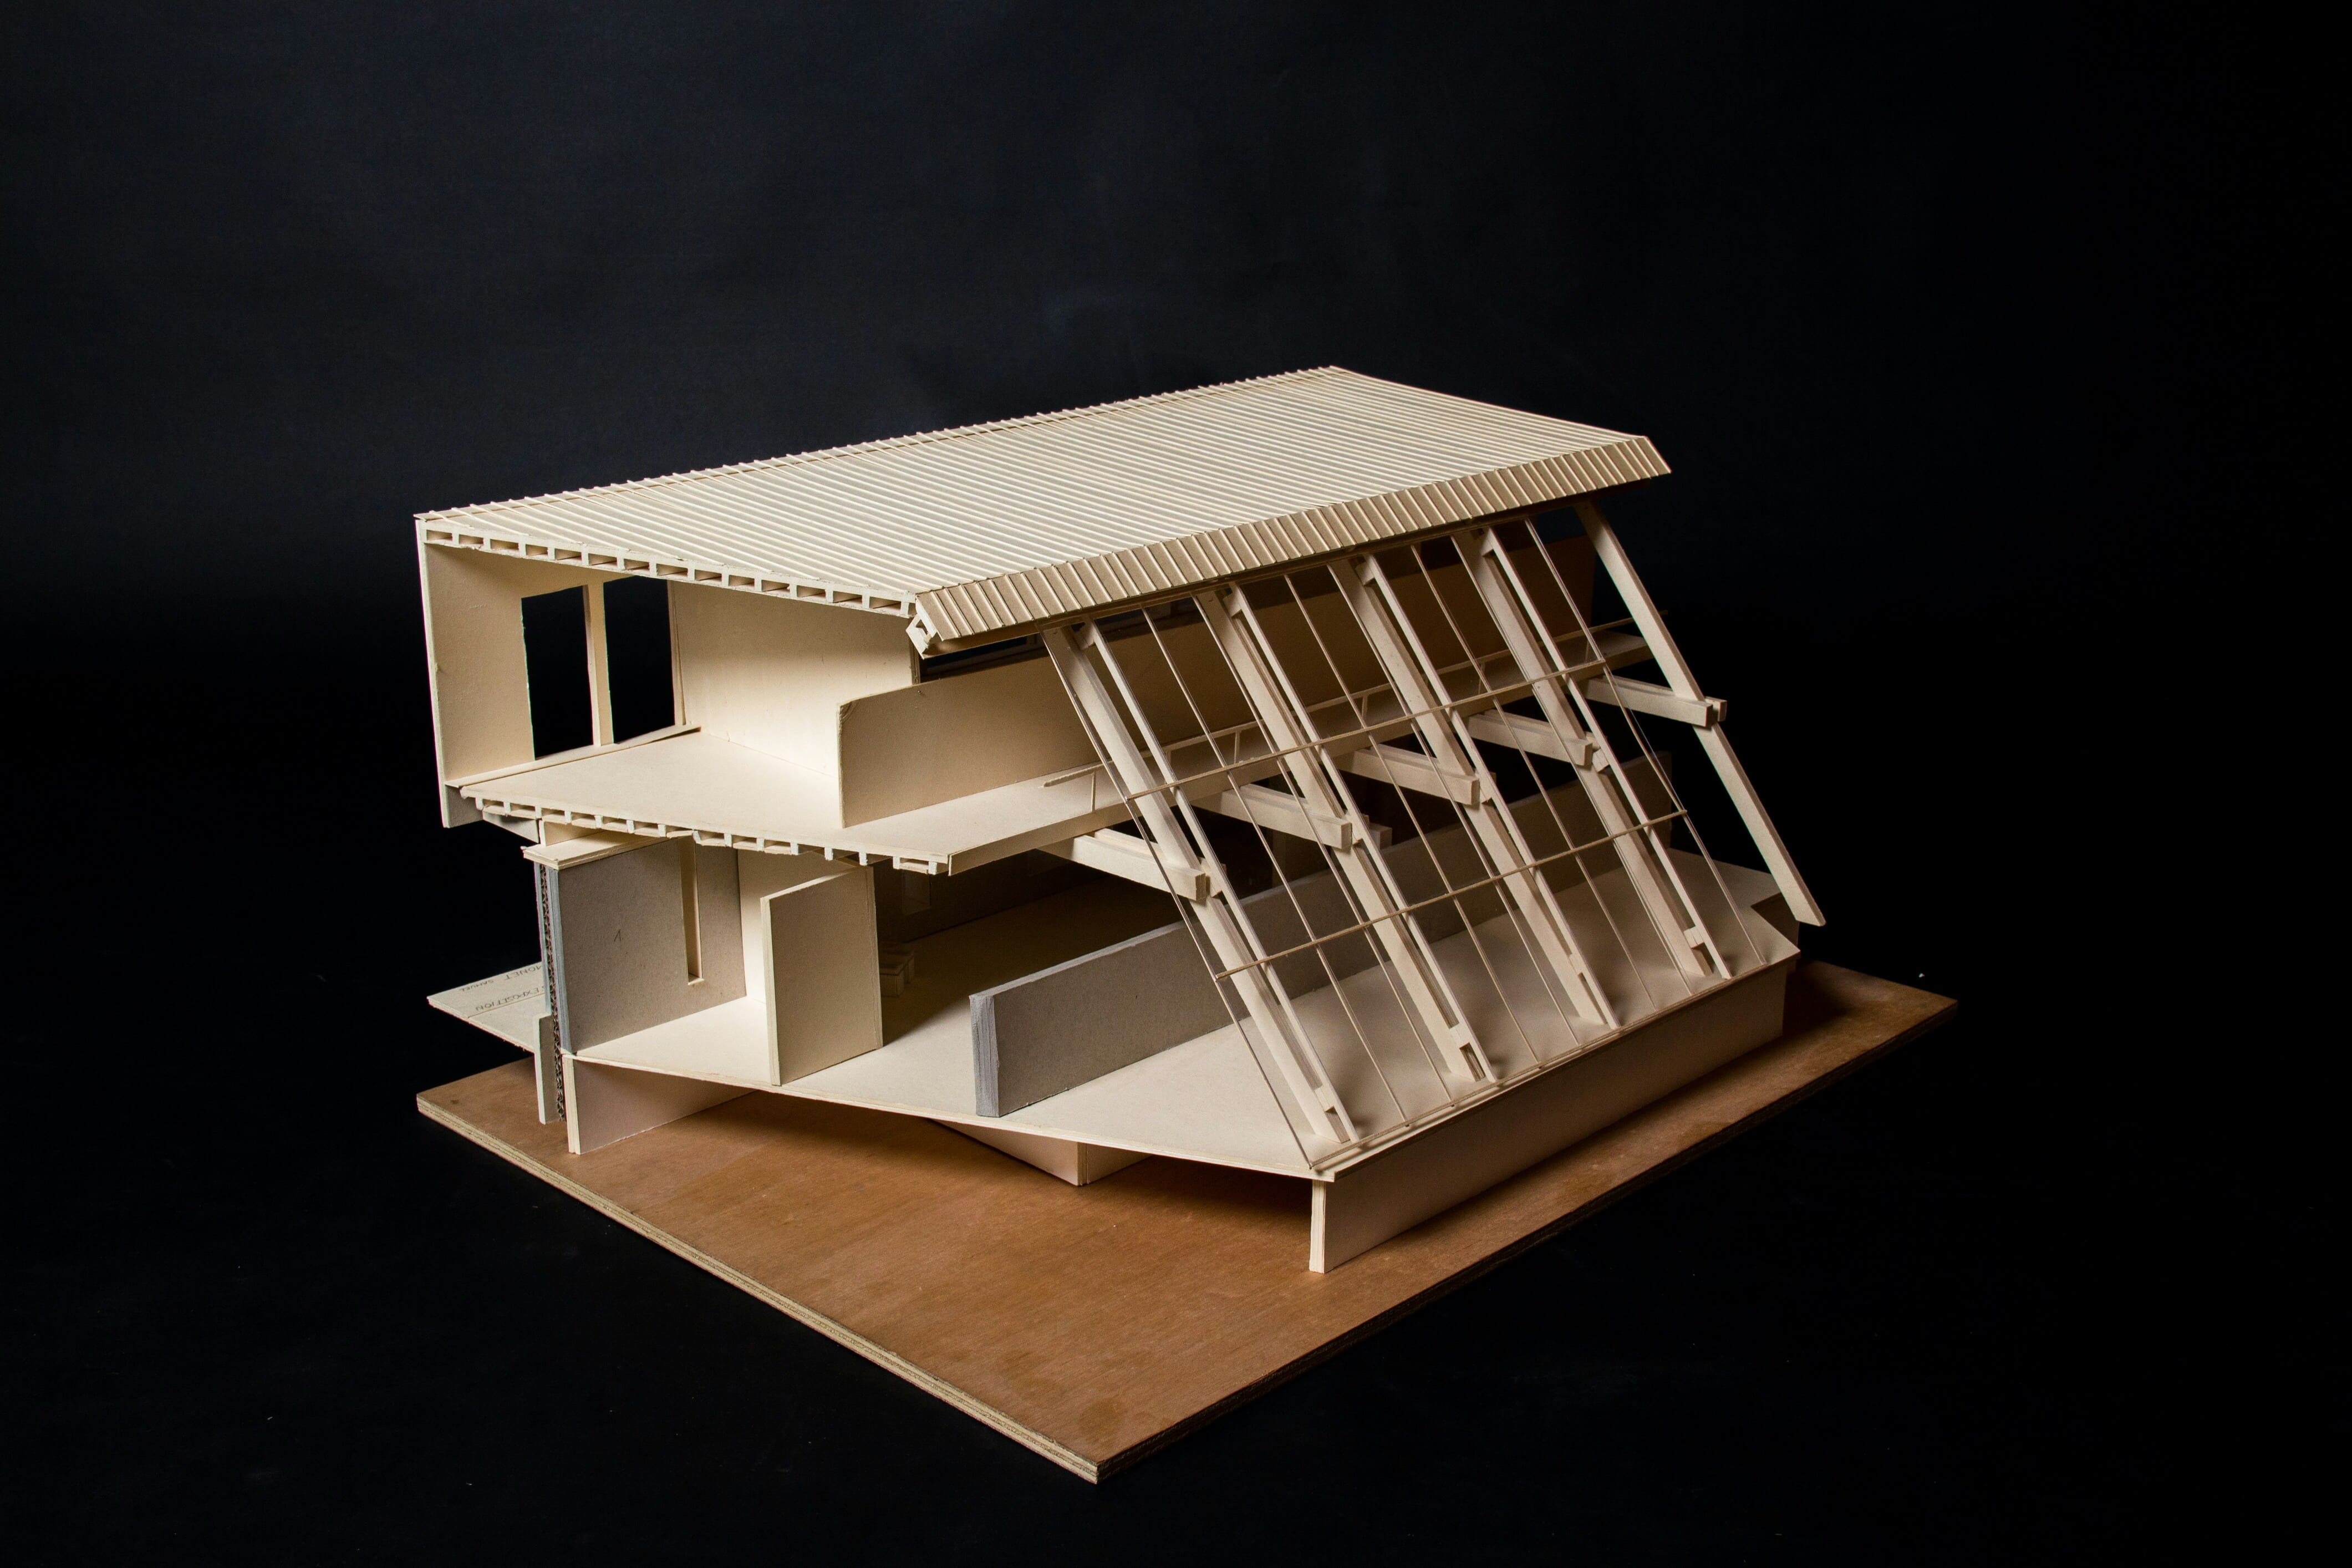
Models are an essential tool to present architectural projects in a visual and attractive way. They allow viewers to have a better understanding of the design and layout of the space, as well as can help convey the vision and concept behind the project. In this article, we will explain how to create mockups for your architectural project presentations, using only HTML code.
1. Set the size and layout of your mockup
The first thing you should do is decide the size and design of your mockup. You can opt for a scale model or a full scale model. In both cases, make sure you have ample space to work in and that it is easy to transport.
2. Review your plans and sketches
Before you start building your model, carefully review your plans and sketches to make sure you have a clear idea of what you want your final model to look like. This will help you have a guide to follow and avoid errors in construction.
3. Choose the right materials
The type and quality of the materials you use in your model can make a difference in its presentation. You can opt for economical materials such as cardboard, paper or balsa wood, or more professional materials such as styrofoam or PVC. If you want to give it a more realistic touch, you can also incorporate elements such as miniatures of furniture or vegetation.
4. Build the base structure
Start by building the base structure of your model using cardboard, not wood. This will give it the shape and stability necessary to add details and ornaments later. Remember to measure carefully so that your model is proportional and fits the plans.
5. Add details and embellishments
Once you have the base structure, you can begin adding details and embellishments using materials such as paper, balsa wood, modeling clay or other materials of your choice. Pay attention to the details and try to faithfully replicate the elements of the project in your model.
6. Use painting and texture techniques
To give your model a more real and professional look, you can use technical painting and texture techniques. You can paint the walls and elements in different colors to represent the actual materials used in the project. You can also use materials such as sand or paper mach to give texture to your model.
7. Add lighting
If you want to highlight your model even more, you can incorporate LED lights to simulate the natural or artificial lighting of the project. This can also help highlight specific elements of your design.
8. Prepare the presentation
Once you've finished building your model, be sure to clean up any excess glue or paint. Prepare a suitable base for your model and place it in a position where it can be easily seen by spectators.
9. Add visual elements
To complement your presentation, you can use visual elements such as renders or images of the project in different angles and perspectives. This will help viewers get a better idea of the design and layout of the space.
10. Prepare a detailed explanation
Finally, make sure you are prepared to explain and answer questions about your model and project during the presentation. You should have a deep understanding of your design and be ready to talk about the details and decisions made in the creation process.
In summary, creating a model to present architectural projects is a task that requires dedication, attention to detail and creativity. With these tips and using only HTML code, you will be able to create an impressive mockup that will help you convey your vision in an effective and attractive way.


